
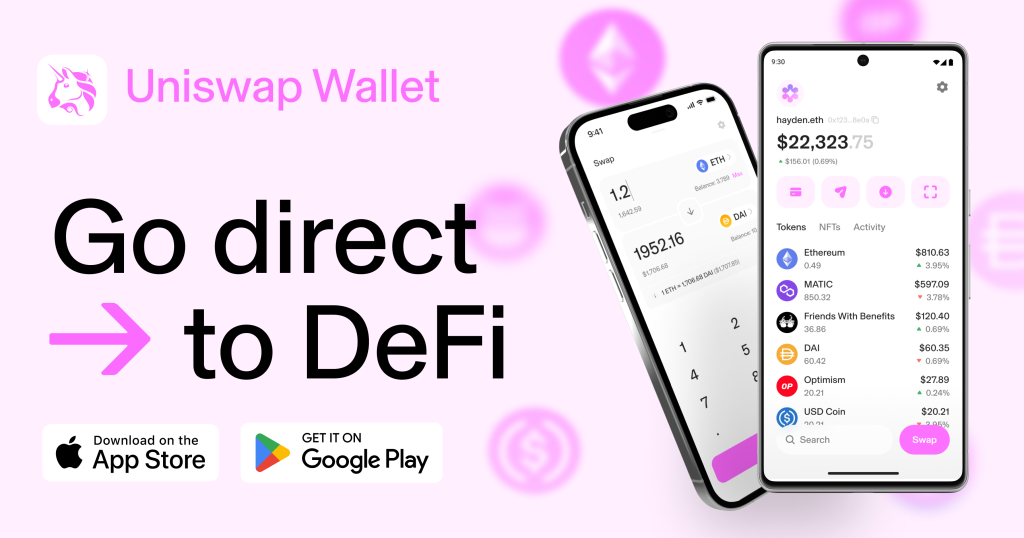
You can access Uniswap directly through your web browser at uniswap.org. No download is needed; simply connect your Ethereum wallet to start trading.
Understanding Uniswap
Overview of Uniswap
Uniswap is a decentralized exchange (DEX) that allows users to trade Ethereum-based tokens without the need for a centralized intermediary. It operates on the Ethereum blockchain, utilizing smart contracts to facilitate automated transactions between cryptocurrency tokens. Launched in 2018, Uniswap has become one of the most popular and widely used DEXs in the decentralized finance (DeFi) space.
- Decentralized Platform: Uniswap operates without a central authority, providing peer-to-peer trading capabilities.
- Smart Contracts: Utilizes Ethereum-based smart contracts to automate and secure transactions.
- Open Source: The code is publicly available, promoting transparency and community-driven development.
Key Features of Uniswap
Uniswap offers several key features that distinguish it from traditional exchanges and other DEXs:
- Automated Market Maker (AMM): Instead of using order books, Uniswap employs an AMM model where liquidity pools are created by users who deposit pairs of tokens. Prices are determined by the ratio of tokens in these pools.
- Liquidity Pools: Users can become liquidity providers (LPs) by depositing equal values of two tokens into a pool. In return, they receive liquidity tokens representing their share of the pool and earn a portion of the trading fees.
- Permissionless: Anyone can list a token on Uniswap without needing permission. This open-access approach has led to a wide variety of tokens being available for trading.
- ERC20 Token Support: Uniswap supports any ERC20 token, making it a versatile platform for trading a broad range of Ethereum-based assets.
- User-Friendly Interface: Designed for ease of use, Uniswap’s interface allows users to quickly and easily perform trades, add liquidity, and manage their assets.
Benefits of Using Uniswap
Using Uniswap offers numerous advantages, particularly for those involved in the DeFi ecosystem:
- Security and Control: By trading on a decentralized platform, users maintain control of their private keys and funds, reducing the risk of hacks associated with centralized exchanges.
- Accessibility: Uniswap’s permissionless nature means anyone can access the platform and start trading or providing liquidity without needing to create an account or undergo KYC (Know Your Customer) procedures.
- Earnings for Liquidity Providers: Users who contribute to liquidity pools earn a portion of the trading fees, providing a potential source of passive income.
- Innovation and Transparency: As an open-source platform, Uniswap fosters innovation and transparency within the community. Developers can contribute to its development, and users can verify the code and operations.
- Diverse Token Availability: The ability to list any ERC20 token without approval means that users have access to a vast array of tokens, including newly launched projects and niche assets.
- Reduced Slippage: The AMM model and large liquidity pools help minimize slippage during trades, especially for high-volume transactions.
Accessing Uniswap Online
Official Uniswap Website
To use Uniswap, you need to access the official Uniswap website:
- Official URL: Visit uniswap.vn to access the platform. Click on the “Launch App” button to open the Uniswap trading interface.
- No Downloads Needed: Uniswap is a web-based application, meaning you don’t need to download any software. All interactions occur through your web browser.
Security Tips for Accessing Uniswap
Ensuring your security while accessing Uniswap is crucial:
- Check the URL: Always make sure you are on the official Uniswap website (uniswap.org). Beware of phishing sites with similar URLs.
- Browser Security: Use a secure and up-to-date browser. Enable security features like HTTPS and consider using browser extensions that enhance security.
- Avoid Public Wi-Fi: Use a private and secure internet connection to prevent unauthorized access to your wallet.
- Two-Factor Authentication: While Uniswap itself doesn’t require an account, ensure any linked services (like your wallet provider) use two-factor authentication.
- Bookmark the Site: Bookmark the official Uniswap website to avoid accidentally visiting a malicious site.
Using Uniswap on Different Browsers
Uniswap is compatible with several modern web browsers. Here’s how to ensure a smooth experience on each:
- Google Chrome:
- MetaMask Extension: Install the MetaMask extension from the Chrome Web Store for seamless integration with Uniswap.
- Browser Settings: Ensure your browser is updated to the latest version for security and performance enhancements.
- Mozilla Firefox:
- MetaMask Extension: Add the MetaMask extension from the Firefox Add-ons store to connect your wallet.
- Privacy Settings: Firefox’s robust privacy settings can help secure your browsing experience. Adjust them as needed for optimal security.
- Brave Browser:
- Built-in Wallet: Brave has a built-in cryptocurrency wallet that can be used to connect to Uniswap. Ensure it is properly set up.
- Enhanced Privacy: Brave offers enhanced privacy features that can be useful when accessing decentralized platforms like Uniswap.
Setting Up a Wallet for Uniswap
Choosing a Compatible Wallet
To interact with Uniswap, you need a compatible Ethereum wallet. Here are some popular options:
- MetaMask: A browser extension wallet available for Chrome, Firefox, and Brave. MetaMask is widely used and highly compatible with various decentralized applications.
- Trust Wallet: A mobile wallet that supports Ethereum and other cryptocurrencies. Trust Wallet is user-friendly and integrates well with Uniswap via WalletConnect.
- Coinbase Wallet: Another mobile wallet option, Coinbase Wallet supports Ethereum and ERC20 tokens, offering easy connectivity with Uniswap.
- WalletConnect: A protocol that allows you to connect mobile wallets like Trust Wallet and Coinbase Wallet to Uniswap through QR code scanning.
Creating and Securing Your Wallet
Once you’ve chosen a compatible wallet, follow these steps to create and secure it:
- Download and Install:
- MetaMask: Visit the MetaMask website and download the browser extension. Follow the installation prompts.
- Trust Wallet/Coinbase Wallet: Download the app from the Google Play Store or Apple App Store.
- Create a New Wallet:
- Open the wallet app or extension.
- Select “Create a New Wallet.”
- Set a strong password for your wallet. This will protect access to your funds on your device.
- Secure Your Wallet with a Recovery Phrase:
- The wallet will generate a 12-word recovery phrase. Write this phrase down on paper and store it in a secure location. Do not store it digitally or share it with anyone.
- Confirm the recovery phrase by entering the words in the correct order as prompted.
- Understand that the recovery phrase is the only way to restore your wallet if you lose access to your device.
Funding Your Wallet
To trade on Uniswap, you need to have Ethereum (ETH) in your wallet. Here’s how to fund your wallet:
- Receive Ethereum from Another Wallet:
- Open your wallet and select the option to receive ETH.
- Copy your wallet address and provide it to the sender.
- Ensure the sender uses this address to transfer ETH to your wallet.
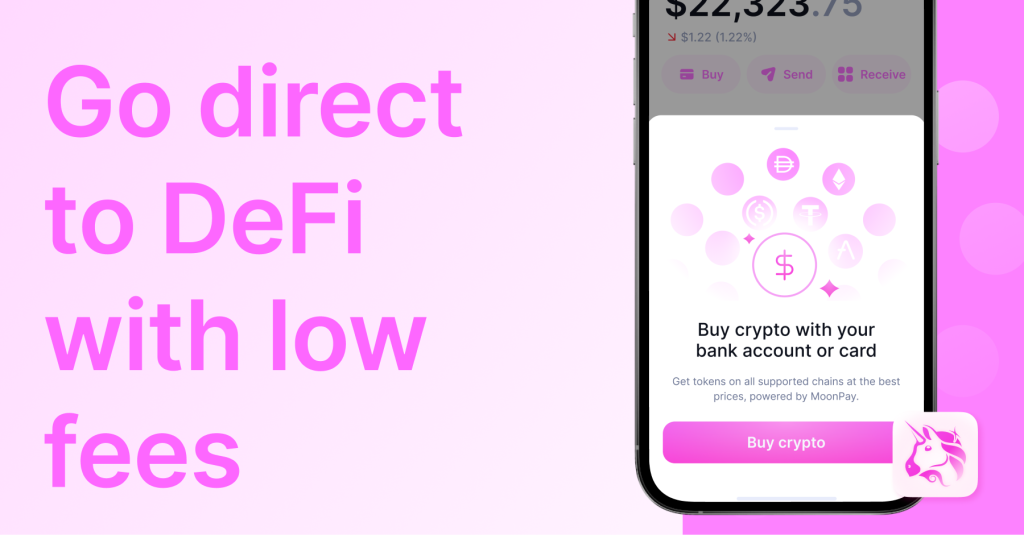
- Buy Ethereum via Wallet:
- Many wallets, including MetaMask and Trust Wallet, allow you to buy ETH directly within the app using a credit card or bank transfer.
- Navigate to the “Buy” section in your wallet.
- Follow the prompts to purchase ETH and have it deposited directly into your wallet.
- Transfer from a Cryptocurrency Exchange:
- Log in to your exchange account (e.g., Coinbase, Binance).
- Navigate to the withdrawal section and select ETH.
- Enter your wallet address from MetaMask, Trust Wallet, or Coinbase Wallet.
- Specify the amount to transfer and confirm the transaction.
Connecting Your Wallet to Uniswap
Steps to Connect MetaMask to Uniswap
To connect MetaMask to Uniswap, follow these steps:
- Open Your Browser: Launch the browser where you have the MetaMask extension installed.
- Access Uniswap: Go to uniswap.org and click on “Launch App” to open the Uniswap interface.
- Connect Wallet: In the Uniswap interface, click on the “Connect Wallet” button, usually found in the top right corner.
- Select MetaMask: From the list of wallet options, select “MetaMask.” This will prompt MetaMask to open in your browser.
- Authorize Connection: MetaMask will display a pop-up asking you to connect. Select the account you want to use and click “Next,” then click “Connect” to authorize the connection.
- Confirmation: Once connected, you will see your MetaMask wallet address displayed on the Uniswap interface, indicating a successful connection.
Using WalletConnect with Uniswap
WalletConnect is a protocol that allows mobile wallets to connect to Uniswap. Here’s how to use it:
- Open Uniswap: In your desktop browser, go to uniswap.org and click on “Launch App.”
- Connect Wallet: Click on the “Connect Wallet” button in the Uniswap interface.
- Select WalletConnect: Choose “WalletConnect” from the list of wallet options. This will generate a QR code.
- Open Mobile Wallet: Open your mobile wallet app (e.g., Trust Wallet or Coinbase Wallet).
- Scan QR Code: In your wallet app, navigate to the settings or wallet options and select “WalletConnect.” Use your mobile device to scan the QR code displayed on the Uniswap interface.
- Authorize Connection: Confirm the connection on your mobile wallet. Your wallet will now be connected to Uniswap, and you can interact with the platform through your mobile device.
Troubleshooting Connection Issues
If you encounter problems connecting your wallet to Uniswap, try the following solutions:
- Refresh the Page: Sometimes, a simple page refresh can resolve temporary connection issues.
- Restart Browser: Close and reopen your browser to clear any glitches and re-establish a connection.
- Update Software: Ensure that your browser, MetaMask extension, or mobile wallet app is up to date. Updates often include bug fixes and compatibility improvements.
- Clear Browser Cache: Accumulated cache and cookies can interfere with the functionality. Clear your browser’s cache and cookies to resolve potential issues.
- Check Network Settings: Ensure that MetaMask or your mobile wallet is set to the Ethereum Mainnet. Other networks may not be compatible with Uniswap.
- Stable Internet Connection: Ensure you have a stable and reliable internet connection. Switch networks or troubleshoot your current connection if necessary.
- Reinstall MetaMask or Wallet App: If issues persist, consider uninstalling and reinstalling the MetaMask extension or your mobile wallet app.
Using Uniswap for Trading
Finding and Selecting Tokens
To trade on Uniswap, you need to find and select the tokens you want to swap. Here’s how to do it:
- Access the Swap Interface: On the Uniswap homepage, click on the “Swap” option in the main menu.
- Select Input Token: In the “From” field, select the token you want to swap. You can search for the token by name or paste its contract address.
- Popular Tokens: Uniswap lists popular tokens for easy access.
- Custom Tokens: If the token is not listed, paste the token’s contract address to add it manually.
- Select Output Token: In the “To” field, choose the token you want to receive. Use the same search method to find the desired token.
- Review Token Information: Ensure you select the correct tokens by verifying their details, such as the logo and contract address, to avoid scams or incorrect selections.
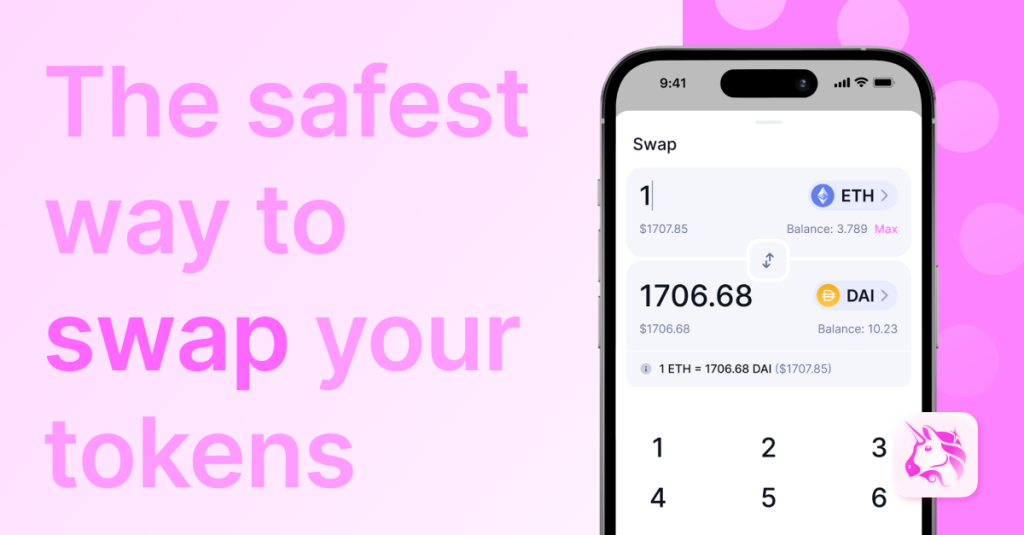
Executing Trades on Uniswap
Once you have selected the tokens, you can execute a trade:
- Enter Amount: Specify the amount of the input token you want to swap. Uniswap will automatically calculate the equivalent amount of the output token based on the current exchange rate.
- Review Trade Details: Check the details of the swap, including the exchange rate, liquidity provider fee, and slippage tolerance.
- Adjust Slippage Tolerance: If necessary, adjust the slippage tolerance in the settings to accommodate price fluctuations. This helps ensure your trade executes smoothly.
- Initiate the Swap: Click the “Swap” button to proceed. A confirmation window will appear summarizing the trade details.
- Confirm Swap: Click “Confirm Swap” to initiate the transaction. This action will trigger a MetaMask or WalletConnect prompt for you to approve the transaction.
- Approve Transaction: In MetaMask or your mobile wallet, review the transaction details, including gas fees. Confirm the transaction to complete the trade.
- Wait for Confirmation: The transaction will be processed by Ethereum miners. You can monitor the status in MetaMask, your wallet app, or a blockchain explorer like Etherscan.
Understanding Transaction Fees
Transaction fees, commonly known as gas fees, are an essential aspect of trading on Uniswap:
- What Are Gas Fees?: Gas fees are payments made to Ethereum miners for processing transactions on the blockchain. They are denominated in Gwei (a small fraction of ETH).
- Factors Affecting Gas Fees: Gas fees vary based on network congestion, transaction complexity, and gas price settings. Higher congestion leads to higher fees.
- Viewing Fees: When initiating a trade, Uniswap will display an estimated gas fee. This fee can fluctuate until the transaction is confirmed.
- Adjusting Gas Fees: In MetaMask, you can adjust the gas fee to prioritize speed or cost. Higher gas fees result in faster processing, while lower fees may delay the transaction.
- Impact on Trading: Be aware that high gas fees can significantly impact the cost of trading, especially for small transactions. Plan your trades accordingly to manage costs.
- Gas Fee Tools: Use tools like ETH Gas Station to check current gas prices and estimate optimal fees for faster or more economical transactions.
Providing Liquidity on Uniswap
How to Add Liquidity to Pools
Providing liquidity on Uniswap allows you to earn fees from trades. Here’s how to add liquidity to pools:
- Access the Pool Interface: On the Uniswap homepage, click on the “Pool” option in the main menu.
- Select “Add Liquidity”: Click the “Add Liquidity” button to begin the process.
- Choose Token Pair: Select the pair of tokens you want to provide as liquidity. For example, you might choose ETH and USDC.
- Equal Value: Ensure you have an equal value of both tokens in your wallet to provide liquidity. The interface will show the amounts required.
- Enter Amounts: Enter the amount of one token. The equivalent amount of the other token will be calculated automatically based on the current pool ratio.
- Review Pool Share: Check your share of the liquidity pool and potential earnings. This information helps you understand the proportion of the pool you will own.
- Approve Tokens: If this is your first time adding liquidity for the selected tokens, you will need to approve them in your wallet (MetaMask, Trust Wallet, etc.). Confirm the approval transaction in your wallet.
- Add Liquidity: After approval, click “Supply” to add liquidity. Confirm the transaction in your wallet to finalize adding liquidity to the pool.
- Transaction Confirmation: Wait for the transaction to be processed. You can track its status in your wallet or on a blockchain explorer like Etherscan.
Earning Fees as a Liquidity Provider
As a liquidity provider (LP) on Uniswap, you earn a portion of the trading fees generated by the pool:
- Fee Distribution: Uniswap charges a 0.30% fee on all trades, which is distributed proportionally among liquidity providers in the pool.
- Accruing Fees: Fees are accrued in the form of the tokens in the pair. For example, if you provide ETH/USDC liquidity, you will earn fees in both ETH and USDC.
- Claiming Fees: Fees are automatically added to your liquidity position. You can claim them by removing your liquidity from the pool, which will include your initial deposit plus any earned fees.
Managing Your Liquidity Positions
Effective management of your liquidity positions is crucial for maximizing earnings and minimizing risks:
- Monitor Pool Performance: Regularly check the performance of the liquidity pool, including total liquidity, volume, and your share of the pool.
- Understanding Impermanent Loss: Be aware of impermanent loss, which occurs when the price ratio of the tokens changes compared to when you deposited them. This can reduce your potential earnings compared to simply holding the tokens.
- Adjusting Liquidity: Based on market conditions and pool performance, you may decide to add more liquidity or withdraw some of your position. This helps optimize your returns.
- Remove Liquidity: To withdraw your liquidity, go to the “Pool” section, select the pool you provided liquidity to, and click “Remove.” Specify the amount you want to withdraw and confirm the transaction in your wallet.
- Reinvesting Earnings: You can reinvest your earned fees by adding them back into the liquidity pool or using them for other trading or DeFi opportunities.
Staying Updated with Uniswap
Following Uniswap Announcements
Keeping up with the latest announcements from Uniswap is crucial for staying informed about updates, new features, and important changes:
- Official Blog: The Uniswap team regularly posts updates and announcements on their official blog. This is the best source for official news.
- Twitter: Follow Uniswap’s official Twitter account for real-time updates, announcements, and community interactions.
- Newsletter: Subscribe to the Uniswap newsletter to receive updates directly to your email. This ensures you don’t miss important news and updates.
Joining the Uniswap Community
Engaging with the Uniswap community can provide valuable insights, support, and networking opportunities:
- Discord: Join the Uniswap Discord server to connect with other users, developers, and the Uniswap team. This is a great place for real-time discussions and support.
- Governance Forum: Participate in the Uniswap Governance Forum to discuss proposals, vote on governance issues, and contribute to the decision-making process.
- Reddit: The Uniswap subreddit is a community-driven space where users share news, tips, and discussions about Uniswap and DeFi.
Learning from Uniswap Tutorials and Guides
Educating yourself with tutorials and guides can enhance your understanding and usage of Uniswap:
- Official Documentation: The Uniswap Docs provide comprehensive guides on using the platform, adding liquidity, and more. It’s a valuable resource for both beginners and advanced users.
- YouTube Tutorials: Watch tutorials on platforms like YouTube to see step-by-step guides on how to use Uniswap effectively. Many content creators provide visual walkthroughs that can be very helpful.
- Medium Articles: Read articles and guides on Medium from both the Uniswap team and the community. These articles often cover advanced strategies, tips, and insights about the DeFi space.
- Community Blogs: Follow blogs from community members who share their experiences and strategies with Uniswap. This can provide practical insights and advanced tips for maximizing your use of the platform.